It’s a sponsored submit written by me on behalf of FrogTape®. All opinions are 100% mine.
Striped partitions have quickly flip into one amongst my favorite design components in an space. You’ll acquire such a dramatic look with little or no expense involved. I do know this tutorial has been a really very long time coming, nevertheless instantly I’m going to share how I deal with to get fully painted striped partitions every time.
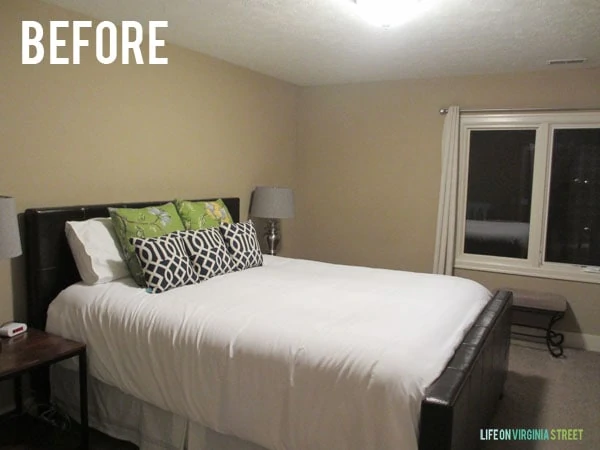
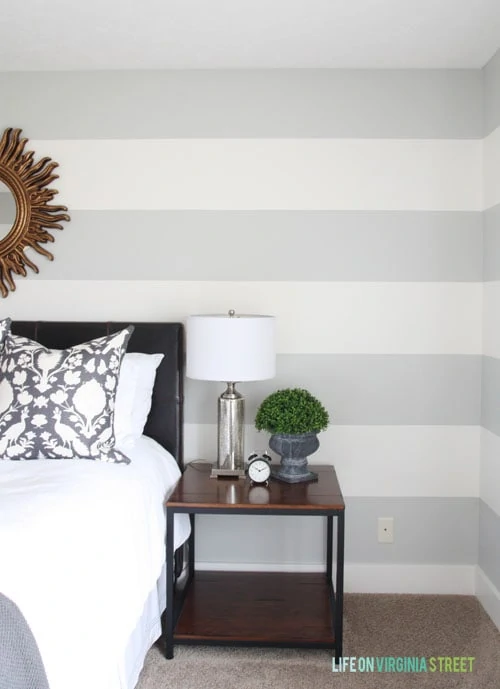
Utterly striped partitions aren’t exhausting to understand – nevertheless it certainly does take some time and effort to get a crisp, glorious look. In the long term, I imagine you’ll agree that the time and effort required are correctly value it! Proper right here is the home I started with. Not quite a few persona, correct?
Sooner than we get to the exact dirty work, lets converse regarding the basic look you are trying to understand. Would you want small stripes or broad stripes, an accent wall or a full room, contrasting colors or tonal or sheen variations? So many selections!
For the look I was going for in our customer room, I preferred a wider stripe with solely barely contrasting colors. I ended up with 4 gray stripes and three white stripes, all the exact same peak. Proper right here’s how I calculated the stripe width in order that they’ve been all equal. Measure the hole between your ceiling and the best of your baseboards, in inches. Subsequent, determine the entire number of stripes you want in your home (I had seven). You’ll take that amount and subtract 1, to get the entire number of tape traces it is important have in your wall. Your elements shall be:
Complete Inches on Wall/Complete Number of Stripes You Want = Measuring Distance Between Tape Strains
My distance occurred to be merely in want of 8 toes, nevertheless for simplicity on this occasion, we’ll go faux it was 8. So I had 8 toes x 12 (to get entire inches) = 96 inches from ceiling to excessive of the baseboard. I divided that by 7, the entire number of stripes I wanted, to get 13.71″ as the entire dimension of each stripe. Sooner than painting I measure out this peak to make sure that was close to dimension of stripe I was going for.
STEPS TO ACHIEVE A PERFECTLY STRIPED WALLS:
Paint your full wall collectively along with your base color (within the occasion you’re planning on altering it). In my case, I started with the gray paint – Behr Dolphin Fin in an eggshell finish. I achieved your complete home in a weekend after which let it remedy until the next weekend.
Get your devices ready. On this case, I used a pencil, a three-foot stage and FrogTape® mannequin painter’s tape (I used FrogTape® Multi-Ground, the frequent inexperienced kind). If you didn’t have as loads remedy time between your base color coat and the stripe color, I would advocate FrogTape® Delicate Ground to guarantee that your base paint doesn’t peel. I make the most of FrogTape in almost every paint endeavor I’ve executed in latest instances and I ponder it by far the simplest on account of it obtained’t bleed on almost any flooring kind.
Starting on the excessive of your room, measure down out of your ceiling the appropriate dimension in your first stripe and make a tick mark collectively along with your pencil. You’ll proceed down the wall together with tick marks every foot or so.
Use your stage to draw a steady line over the tick marks. Since not all ceiling traces are stage (mine really weren’t), you’ll nonetheless want to make use of an prolonged stage to pencil in your tape traces. If I found that my measurements have been off (because of the unlevel ceiling), I would go from tick mark to tick mark and minimize up the excellence to make the street as stage as attainable.
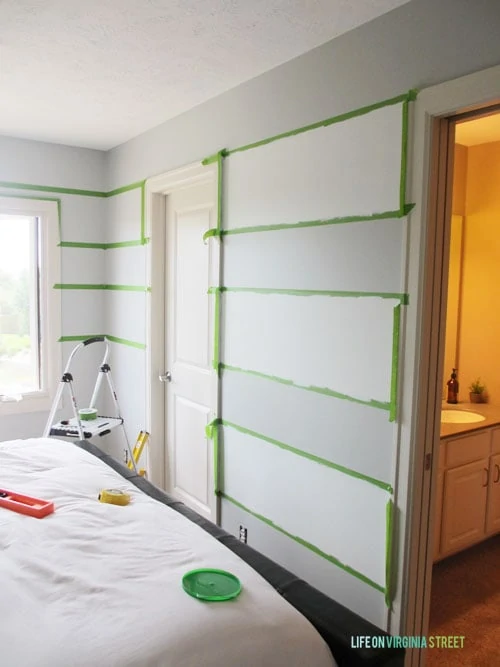
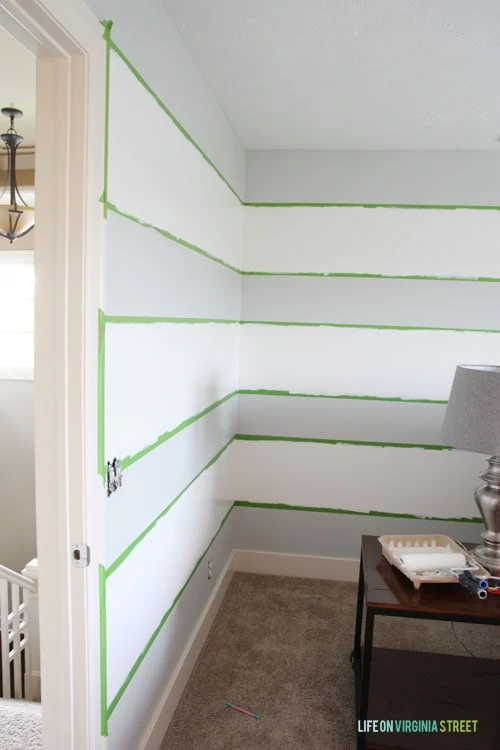
After you might have the first line penciled on the wall, it’s time to start out out taping! I normally would tear off a couple of three foot piece of tape and would line it up as shut as attainable to my pencil line. Since my excessive stripe was gray, which was the color already on the wall, I positioned the first piece of tape merely above the pencil line, sustaining the pencil area throughout the half that is likely to be painted white so I didn’t ought to erase it later. If you’re taping by your self and never utilizing a companion like I was, using the pre-torn gadgets is sweet. Merely bear in mind, when you add your subsequent piece of tape, you barely overlap the prior piece – making certain it is lined up as fully as attainable.
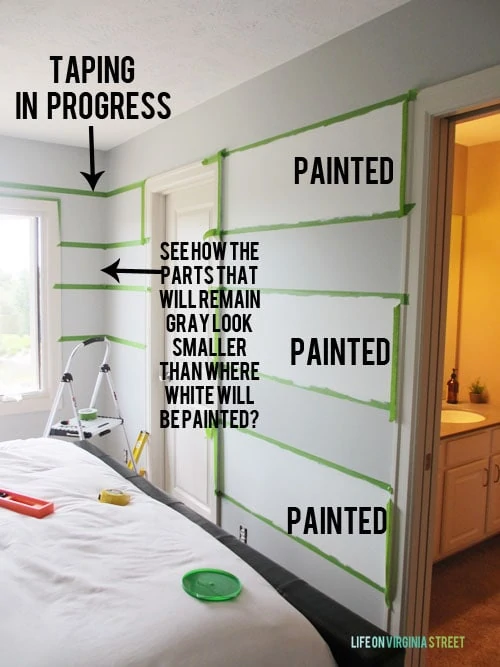
As quickly as your complete first line of tape is up, you repeat the steps above. To take care of the white stripe the similar dimension because the gray stripe, I used the similar measurements as above, nevertheless started on the bottom of the tape line on the wall after which measured down. Draw your tick marks, stage, and draw your traces like sooner than. This time however, because you is likely to be taping off the painted area, you place your subsequent piece of tape just below the pencil line. Visually, it ought to look barely off (it makes the gray area look smaller because you’re defending quite a few it with tape). See image beneath. See how the white stripes look tons bigger?
As it is also doable to see throughout the image above, I used pure breaks like doorways or house home windows to work in sections. Typically it felt like I was making greater progress if I would paint an area after which switch on to the next half.
My subsequent trick, significantly when using FrogTape®, is to get a financial institution card out and drag it alongside the traces the place the tape has been utilized. As a result of the tape has PaintBlock® Know-how, it is crazy merely how correctly it blocks out any paint from bleeding (significantly when appropriately pressed with the financial institution card). You will have to press your whole traces with the cardboard, significantly the areas the place your tape overlaps, to understand a perfect line. **One factor to note: I’ve seen totally different tutorials the place of us will paint a layer of the underside color spherical all the tape traces to forestall bleeding, nevertheless personally I don’t actually really feel it is important the least bit within the occasion you adjust to the steps above and use this tape. Plus, then you definitely definately don’t have a “ledge” with further paint (as you’d have in any case three layers following that methodology).
As quickly as each factor is taped off and appropriately sealed (in a bit, or your full room), add your stripe paint color (I used Behr Swiss Espresso in eggshell). I used a small roller and utilized two coats of paint, allowing an hour dry time between coats. I would apply the paint in as prolonged of traces as attainable to cut back roller marks.
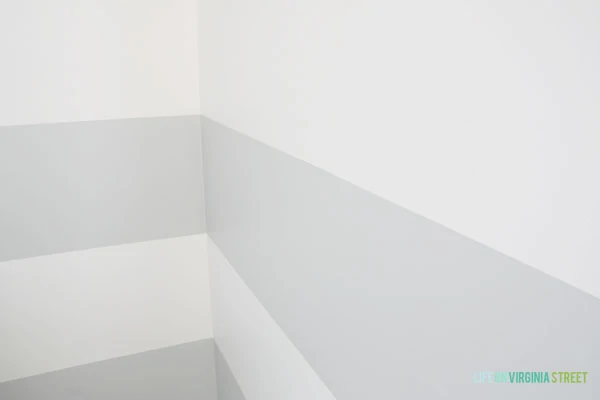
I then eradicated the tape immediately as quickly because the second coat was utilized. You’ll be so impressed with how merely the tape removes and easily how crisp your traces are!
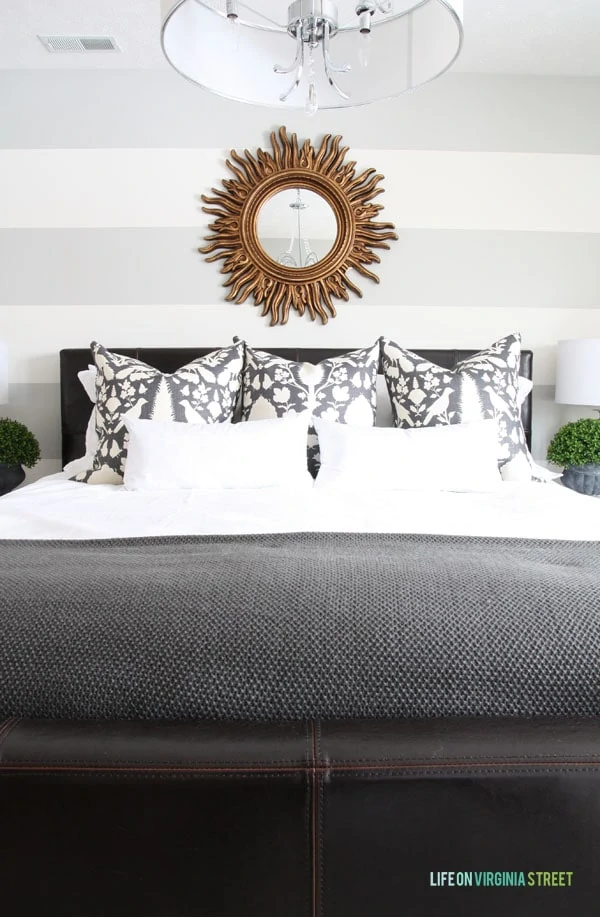
Stand once more and stare at your enticing new partitions!
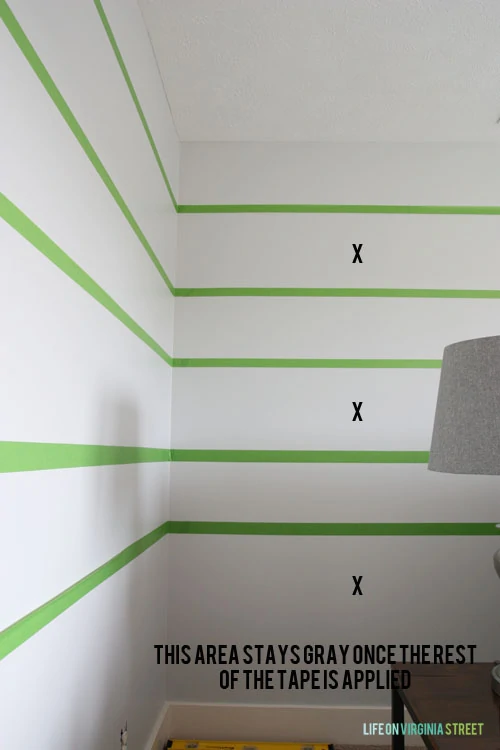
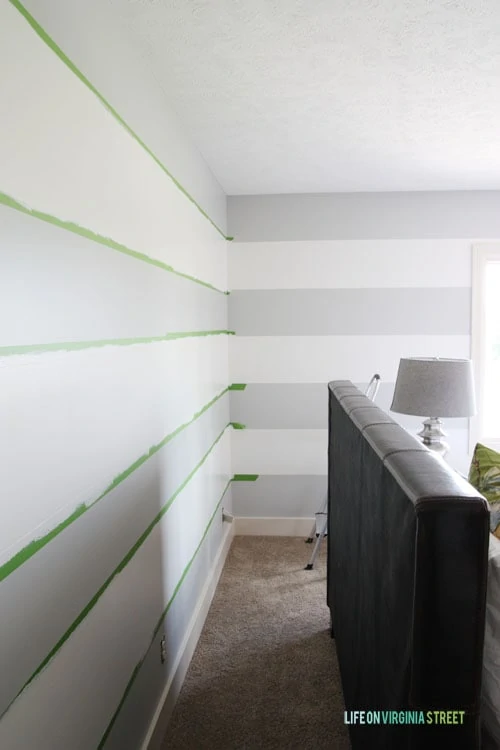
Listed below are just some further ‘in progress’ pictures. You’ll uncover I ran out of tape partway by and I unintentionally bought a wider FrogTape nevertheless you presumably can nonetheless see the way in which all of it works collectively. Inside the first image beneath, the ‘X’ denotes the place the white paint might be utilized:
And now some ‘after’ pictures from all the exhausting work. Like I discussed, being barely further meticulous in your prep work in the long run pays off in the long run when you get outcomes like this. Utterly even stripes and no paint bleed!
For a full provide guidelines of issues on this room, you must undoubtedly check out this submit.
Now, can you kind out stripes (or totally different patterns) in your particular person residence? It is best to undoubtedly check out the Earn Your Stripes Room Makeover Contest, the place you presumably can enter your endeavor and presumably win $5,000! Proper right here’s how:
To enter readers ought to re-do a room with the help of FrogTape and submit their pictures to the FrogTape contest web site
Go to the FrogTape web site to try all official contest particulars
The winner will acquire a $5,000 prize!
You’ll go to the FrogTape® painting inspiration net web page to be taught further about their merchandise and check out their inspiration gallery. Or, it is also doable to go to and adjust to their Twitter (@FrogTape), Instagram (@FrogTape), Fb, and Pinterest pages for further information and inspiration. So many fantastic seems could also be achieved!
A large due to FrogTape for sponsoring this submit. I hope it has motivated you to kind out a paint endeavor of your particular person! If you must adjust to alongside on further of my residence decor, DIY, life-style and totally different posts, I’d prefer to have you ever ever adjust to me on any of the following:


 Touri 12-Piece Set: 9-Inch Paint Trays and Liners, Consists of 10 Thick Disposable Plastic Liners and a couple of Paint Curler Trays - Important Provides for Dwelling Portray and DIY Tasks
1 × 19 $
Touri 12-Piece Set: 9-Inch Paint Trays and Liners, Consists of 10 Thick Disposable Plastic Liners and a couple of Paint Curler Trays - Important Provides for Dwelling Portray and DIY Tasks
1 × 19 $